Wednesday, 20 May 2015
Still not working
For some time now I haven't done much 3D printing. The machine is giving every time I start a new print....problems with underextruding.. Sometimes I think that the 3d model that is underlying the Gcode can be the reason for this problem.
Tuesday, 12 May 2015
Again underextruding
I am planning to print a Solartracking device which I found on Thingiverse.com. All the electronics I have already just now I need to start printing. The item which I printed sofar and which are ok you can see on the next image.
 But I got problems with underextrusion.... Here is an image of a big part which started underextruding just at the end of the print....

So I am doing again a Atomic Nozzle Clearing.... I use a piece of white pla filament so I can see clearly if there is dirt in the nozzle. The first piece came out quite clean......no visible dirt.... Then I did it a second time and on the piece that I got out were minor irregularities. The third time went ok.

Direct after this I started a test print......
After 16 minutes and 32% done the test print went good.
 And after 46 minutes it was ready.... good till the end.
 So tomorrow I will try another time the items for the solartracker...


So I am doing again a Atomic Nozzle Clearing.... I use a piece of white pla filament so I can see clearly if there is dirt in the nozzle. The first piece came out quite clean......no visible dirt.... Then I did it a second time and on the piece that I got out were minor irregularities. The third time went ok.

Direct after this I started a test print......
After 16 minutes and 32% done the test print went good.


Friday, 24 April 2015
DIY Trellis Soundboard
On wednesday 22 april I found on Adafruit a nice project to make a 3D printed portable Trellis Soundboard.
 In this project they included the Stl files to make the casing. I downloaded them and started printing. At the same time I ordered the electronics items on the Adafruit website with some other items I already planned to buy.
First the Tray for the pcb with the 16 buttons. This item took 46 minutes to print.
 Then the Top part. This item printed in 1:56 hours.
 The next print for the big part, the frame. I had to cancel it while it was printing. Cura keeps the last settings available for next prints. In it I had set the infill to zero. This way the case was build with walls which had no connection to each other.. This would lead to a very unstable frame. Here are images of these walls.

 The printtime was already 1:46 hour but it would take at least 5 hours to finished...So better start a new print..
The frame started good but half way it started to go wrong. Underextrusion. I did let it finished and I am thinking about covering the underextruded parts with glue. Strangely after the part of the underextrusion the best part was printed..very smooth and without mistakes. But I also think about a new try.
The print of the frame took 5:25 hours.


 After this print I started immediately to print the bottom part. And that one came out very good. Printing time was 2:17 hours.
 The next day I wanted to have another go with the frame part. I started the print at 6:30 in the morning. So around 12:00 am it should be ready.
And it did. The frame came out very good. Without mistakes in extrusion. Printing time was 5:25 hours. Here is the frame.

 And here is the full box. I am very glad it worked out fine.

 The next thing will be to find the screws and wait for the Adafruit Trellis items to arrive.
Total printing time for the box was:

First the Tray for the pcb with the 16 buttons. This item took 46 minutes to print.
The frame started good but half way it started to go wrong. Underextrusion. I did let it finished and I am thinking about covering the underextruded parts with glue. Strangely after the part of the underextrusion the best part was printed..very smooth and without mistakes. But I also think about a new try.
The print of the frame took 5:25 hours.
And it did. The frame came out very good. Without mistakes in extrusion. Printing time was 5:25 hours. Here is the frame.
Total printing time for the box was:
- Top 1:56
- Tray 0:46
- Frame 5:25
- Bottom 2:17
- Total 10:24 (the two mistakes added another 7:11)
Wednesday, 15 April 2015
Second attempt wall case.
This morning I started the second print. First I changed the position of the two holes in the top of the item to a proper position. Then in Cura I changed the direction how it should be printed. This dictates the way the infill is made. Yesterday the infill was diametrical on the object. Today it is in line with the object. The estimated printtime is about 11:30 hours..
Here are some stages of the print. Here is the item after 5:03 hours printtime and 37% done.
 Here is the item after 6:53 hours of printing and 52% done.
 And here it is after 8:30 hours of printing and 65% is done.
 The infill on the smaller side of the item (in front) is ok. The infill on the larger side of the object (in the back) is not looking that good... It is there but not very well connected.... The support is holding on very good allthough it has a small connection to the item.
After 9:47 hours of printing and 78% done it looked like this.
 And after 11:38 hours the print was ready. It closed the bottom very good. A little minus are the parts where the support material is connected to the item.


 And here it is on its spot of duty. The ventilator fits so perfectly in the case that I don't need screws to tighten it.

 Some remarks on the design. The design is very basic. The electric wire hangs out the bottom. This could have been done in a different way.
Here are some stages of the print. Here is the item after 5:03 hours printtime and 37% done.
After 9:47 hours of printing and 78% done it looked like this.
Tuesday, 14 April 2015
The case....
This weekend I build the case for the holder. The ventilator should fit right into this case. The estimated printtime is 12:37 hours.... This morning at 6:30 I started the print.... The start looks good.
Here is the item in Cura

 And here the print after 3:08 hours and 15% done.
 After 3:26 hours printing the print seems doomed to be a failure.. The infill (nr, 1 and 2 on the image) show that it would not stay on this part... That means that when time for closing the circle is coming it might have no support and will create a mess. Also (nr. 3) shows that the infill is not good and steady.....
 After 4:28 hours of printing and 27% done it doesn't look better. In the parts on nr. 1 , 2 and 3 in the image the support has lost its own support. It hangs in the air. Nr 4 shows that the infill in this part is still underperforming. I will keep on printing because the case it self looks still ok. And also when the print won't be 100% done I can use it for the purpose...
 But after 5:19 hours of printing and 35% done I had to end the print. The distorted infill could damage the rest....
 I cleaned it and sandpapered the unfinished part. The ventilator fits very good in it allthough I calculated the holes to high. But the item will serve for what it has to do. Blowing me fresh air in the face....

Here is the item in Cura
Saturday, 11 April 2015
The holder..
For the project the holder to put against the wall is ready. It took 2:24 hours to print. And it came out very good. Also the infill. The Atomic Nozzle Clearing has certainly had effect. Here is the item after 1:58 hours of printing and 71% done.
 And here is the final product.

 And here it is against the wall and waiting for the case to be put in it..

 I have put the little test item in it I made in the previous print the connector test...
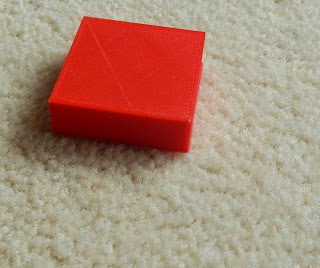
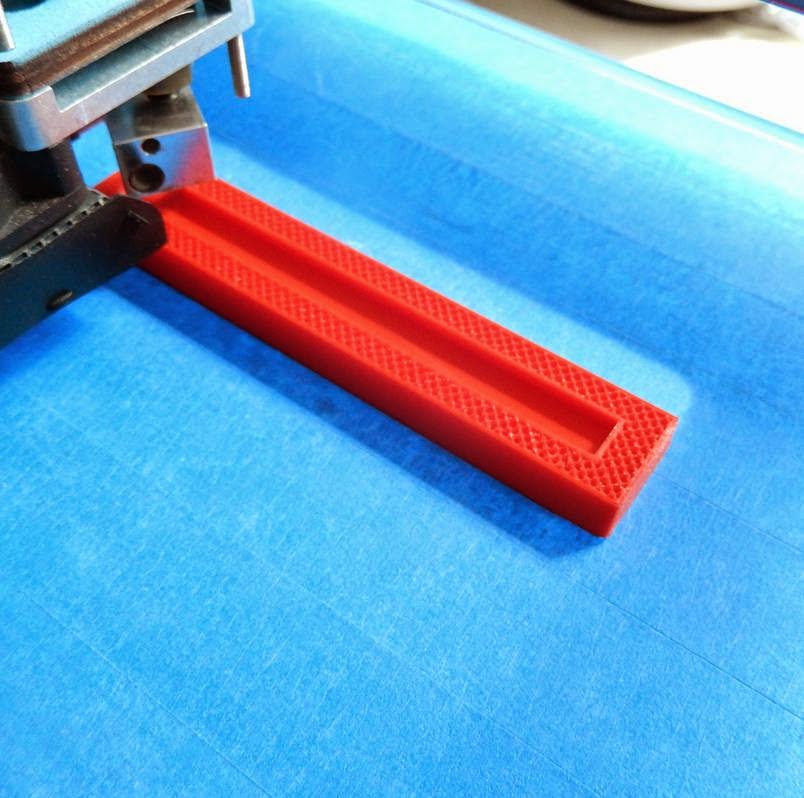
Connector test
For a project I have in mind I need a connector. I got the idea to make a sliding mechanism.
To find out what the good sizes, so that it works well, I made a test item in Blender. It took 51 minutes to print them. They fit very good together.


To find out what the good sizes, so that it works well, I made a test item in Blender. It took 51 minutes to print them. They fit very good together.
Subscribe to:
Posts (Atom)